id you know that Photoshop boasts an incredible 3D tool perfect for crafting items for OpenSim? Getting started is easy—all you need is a PNG-formatted image with a transparent background. I typically source my images from Google Advanced Image Search, allowing me to filter for specific types and ensure proper license rights. It's crucial to choose images with a CC0 "public domain" license for legal use in publishing or selling your creations. Another valuable resource is Pixabay, offering free commercial-use images.
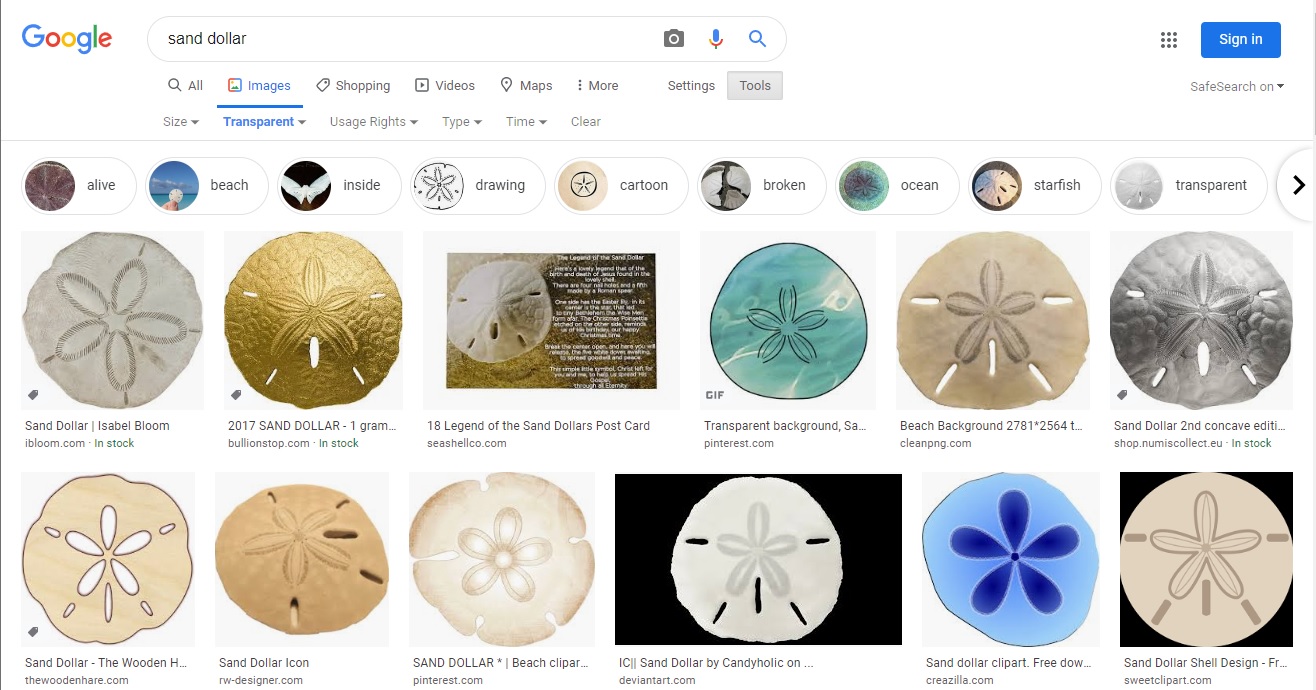
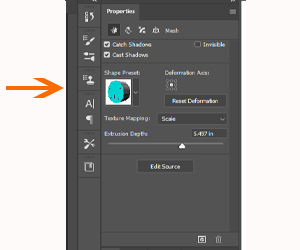
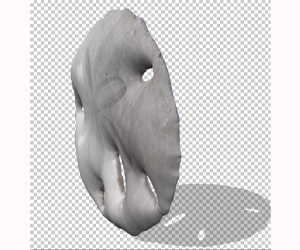
For instance, when I wanted to create in-world seashells, I conducted a Google advanced image search for sand dollars.
Unfortunately, despite being in PNG format, the selected image had a non-transparent gray grid background. I had to edit the picture by removing the background to achieve transparency. Seeking images with pre-existing transparent backgrounds can help skip this step.
You can use this technique to craft shells or flowers for your hair. When gathering images, collect a variety and organize them in a file for future use—this saves time and keeps you inspired. Always keep a notecard detailing the image sources for proof of non-infringement. I usually include this information in my model files.
Once you have the image, open it in Photoshop:
You’ll see an initial shape, but it might not be the desired one. Select the sand dollar, then use the blue Shape Preset window in the Properties Panel to choose a shape preset or adjust extrusion depth.
Exporting and using in OpenSim:
You can create various items using this method—crabs, steaks, bacon—experimenting with different images and shape presets.
After importing the 3D model, the final step is adding texture. Upload the original image as a new texture and apply it to the model’s surface, adjusting as needed.
The capabilities of this software are astounding—venture out and give it a try!